How to use Pipelines?
What is a pipeline?
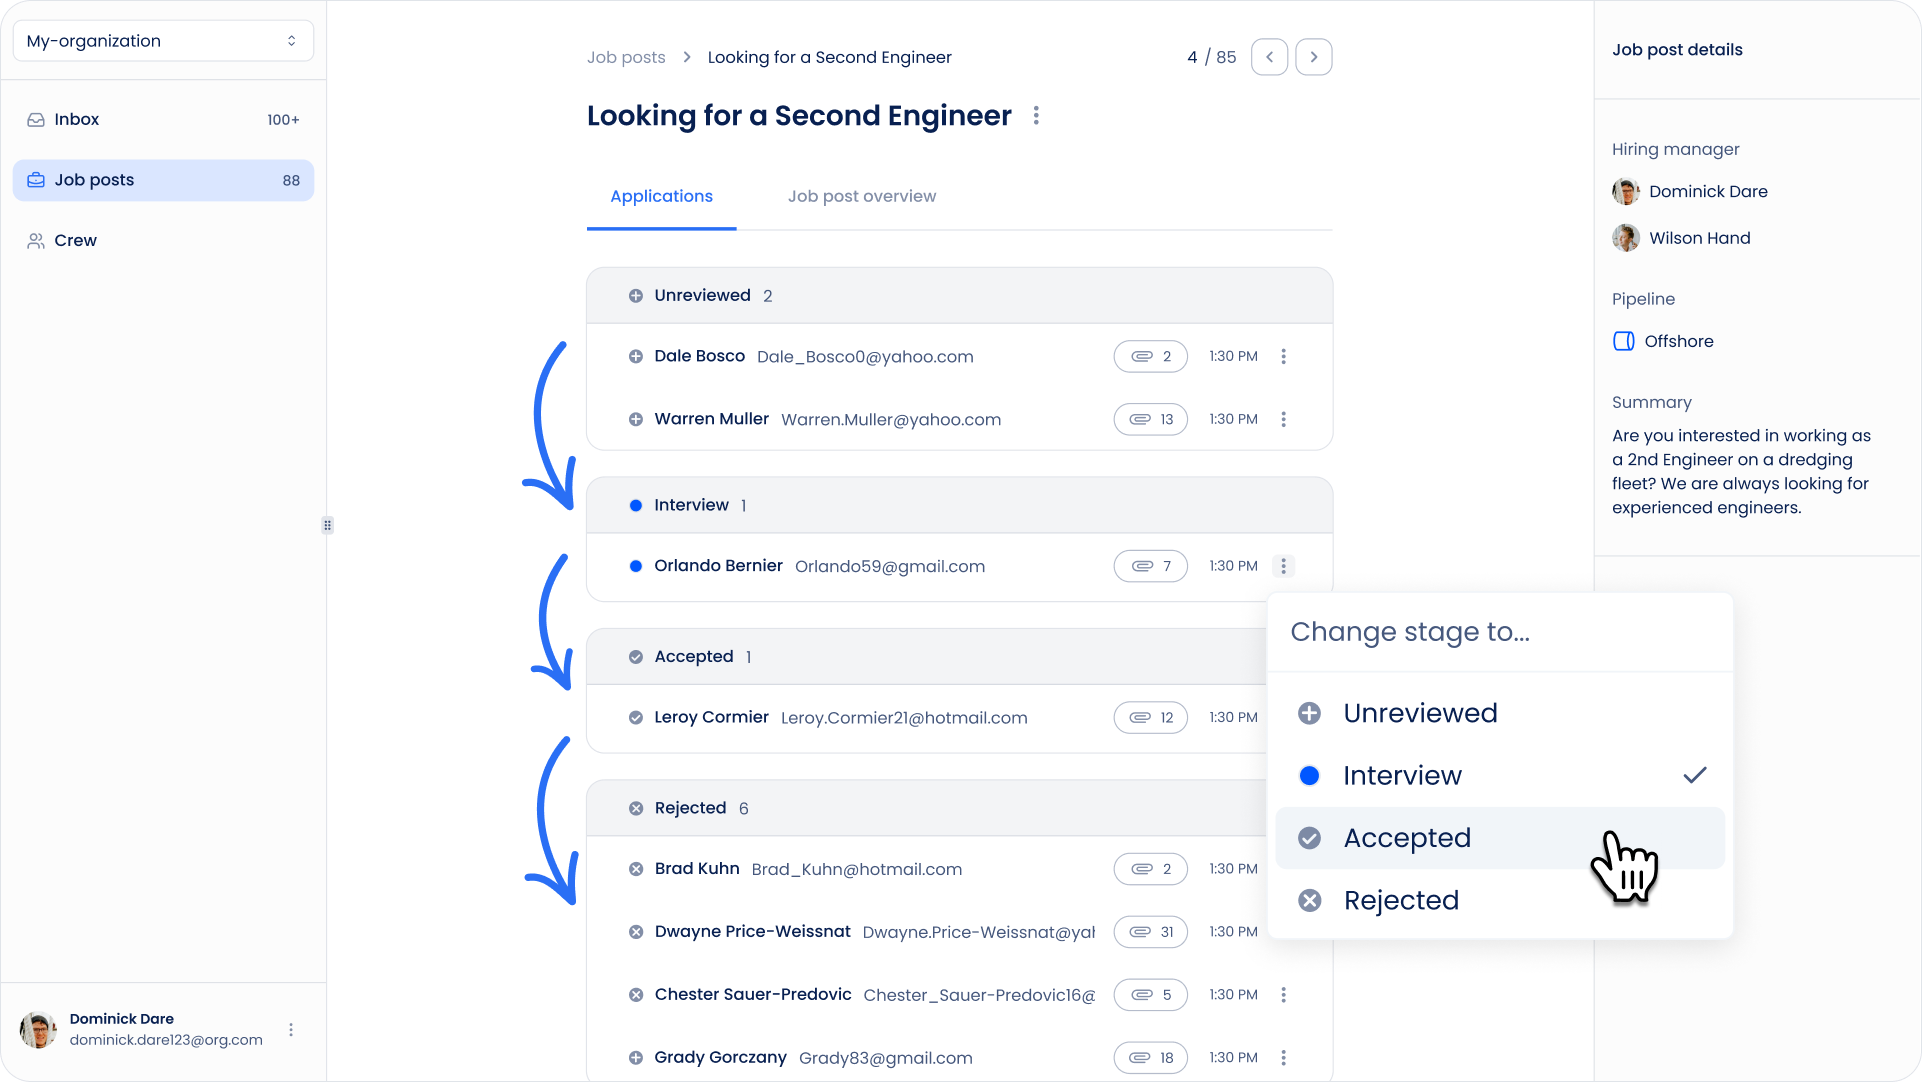
When you click on Applications for any job, you'll see a list of all applicants. If the list is long, it can be difficult to keep track of who you've already spoken to and where they are in the recruitment process. That’s why we introduced Pipelines. With Pipelines, you can easily place applicants into the right stage of the process.
You can use a default pipeline or create one tailored to your specific workflow. Since everyone’s recruitment process can vary, this flexibility allows you to manage your applicants in a way that works best for you.

Example: Using a Default Pipeline
The default pipeline includes several stages to guide your recruitment process:
- Unreviewed: This is where all new applicants start.
- After reviewing, you schedule interviews with selected candidates.
- Accepted: Applicants you decide to move forward with are placed here.
- Rejected: Applicants who don’t make it past a certain stage can be moved here.
For example, imagine you have 10 applicants in the Unreviewed stage. After conducting interviews, you decide to accept three candidates. You move those three to the Accepted stage and place the remaining applicants in Rejected.
By organizing your applicants in this way, you always have a clear overview of the recruitment process for every job. This is especially helpful if you revisit the application months later or if a colleague needs to step in. Everything is documented and easy to follow!
Don't see your integration?


